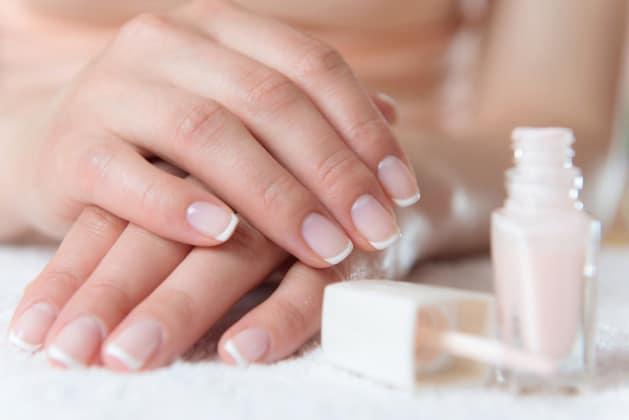
Beautiful hands with manicured nails are such a feminine thing. The majority of the women love to get their nails done and it could be of any length or no length at all. Not just for feminine appearance but also because it looks and feels hygienic. But since covid-19 is still here it isn’t always feasible to visit a salon all the time. Hence, we got you a proper guide on how you can do manicures at home like an expert. So, just follow the steps and get your manicure done by yourself. It indeed is a kind of therapy to paint your nails and draw some quirky designs for you, so let’s have a look at the guide for a manicure at home.
Use nail polish remover to clean your nails.
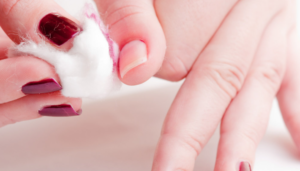
To get a professional-looking manicure at leisure, spend as much time cleaning your nails as you do finishing them. Beginning with a decent nail polish remover is an excellent place to start. Which removes nail paint rapidly and contains vital nutrients to improve and moisturize your cuticles. However, if you don’t have polish on, you should wipe each nail with a cotton ball to remove any oils or dirt that could cause your polish to distort. Remember to wash your hands afterward with soap and water.
Clip, file, and buff your nails.

To have your points squared, round, or anything in between, trim your fingernails first, then polish softly in one orientation. To produce a smooth surface, gently buff the tops and edges of your fingernails with a nail buffer rather than your emery board. “If you don’t buff your fingernails, the natural oils in them might build up and destroy your manicure.” Buffing your nails is similar to cleaning your teeth; it makes your nails look younger and removes ridges.
Soak your nails in water.
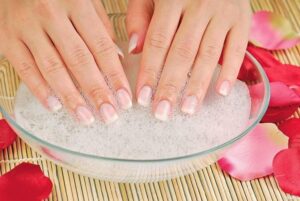
It’s critical to get your nails before pulling your cuticles back. You risk causing severe harm to your nails if you don’t. Immerse your hands in a bowl of hot water with a few drops of jojoba or argan oil for 5 to 10 minutes. Then, using a towel, blot it dry. On the end of an orange-wood stick, place a piece of water-soaked cotton. Push your cuticles back with this orange-wood tool. Cuticle scissors should not be used to clip cuticles forcefully. Cutting your cuticles too short puts you at risk of infection. Clean under every nail with an orange-wood stick.
Hands and cuticles should be moisturized.

To avoid smearing almost-dry nail paint later, moisturize now. Taking advantage of the chance to give oneself a short hand massage just because you aren’t at a spa doesn’t suggest you can’t unwind for a few moments. Swab every nail with nail polish remover to remove any remaining residue.
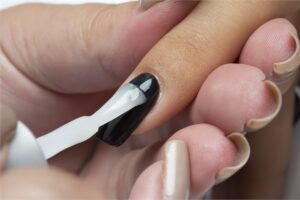
Apply a base coat
Use a base coat before putting polish to safeguard your nails from the polish and to maintain them healthy. It will extend the life of your polish and keep your nails hydrated. Apply one application of base coat to the nail in light, smooth strokes. Apply a little layer of base coat to every nail and then let it sit for 2 – 3 minutes.
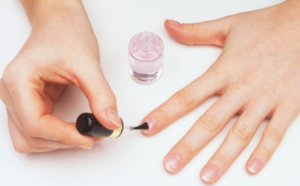
Paint
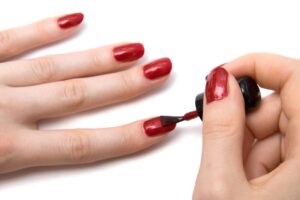
And it is now appropriate to polish your nails. You could always add a layer if you try too hard to paint perfectly. Stable, even strokes from the base to the tip are essential when applying paint. Make sure your paint isn’t bubbling or cracking. Make sure there is no surplus paint on the brushes before using the color.
Apply a last coat of paint.
If you want to try little nail art, wait until the topcoat is dry before doing so. Apply a clear finish to your nail paint to preserve it from wear and tear. It will give your artwork a salon-like finish while also ensuring that it lasts a long time.
Allow your nails to dry after cleaning up any imperfections.
Wrap a cotton ball drenched in nail polish remover on the tip of your cuticle stick and gently trace across your nails to clean it up of any flaws or uneven edges. Fold one of your nail paint remover wipes into a triangle for more accurate application. Allow an extra five minutes for your nails to dry before showing them off and shocking everybody by disclosing they’re DIY.
Tips/Tricks for manicure:
- Since the fake nail fit, quality, and assortment have all improved, press-on nails are ideal for DIY manicures. Pre-painted sets are now available for all fingernail lengths and forms, ranging from short square nails to longer oval nails. Press-on nails can last as long or as little as you desire, depending on the sort of adhesive you choose. The benefit of press-on nails is that they are easier and faster to replace.
- Cuticle skin is something that we all have. You don’t have to entirely chop them off. Simply push them away. If you think your cuticles are excessively long, try pressing them back in the showers daily. It’s because when you take a bath, your cuticles soften, making it simpler to push them back.
- Clean your nails regularly, and ensure all of your nail equipment is washed and sterilized regularly. Make sure your nails don’t grow too long because this makes it easy for dirt to collect beneath them.
- To keep bacteria at bay and prevent your nails from pathogens, use natural disinfectants like tea tree oil on your nails.
- Gels and acrylics are unquestionably attractive, but they wreak havoc on the nails. If at all possible, stay away from them. The acrylic powder contains a lot of chemicals, which roughens and damages the nails. Gel manicures injure the epidermis surrounding your nails due to the drying mechanism. Choosing press-on ones would be a better option in this case.